The Great Fire postmortem, part 1/2 5 0
 thomastc
I was really happy about the shortlist of potential themes, so I knew this was going to be a fun one. The winning theme, "Always growing", was my second choice.
In this article, I'll describe beat by beat how my entry, The Great Fire, came to be. It will get a bit technical in places; Godot users might be interested in reading along in the source code. I might even throw in some tips for beginning game jammers.
But first, let's take a look at the end result:
You can play the game in your browser here.
Friday night: brainstorming and planning
The jam started on Friday at 21:00 in my time zone, so there wasn't a lot of time before bed (I like to get a good night's sleep). I just did some brainstorming, which resulted in this mind map:
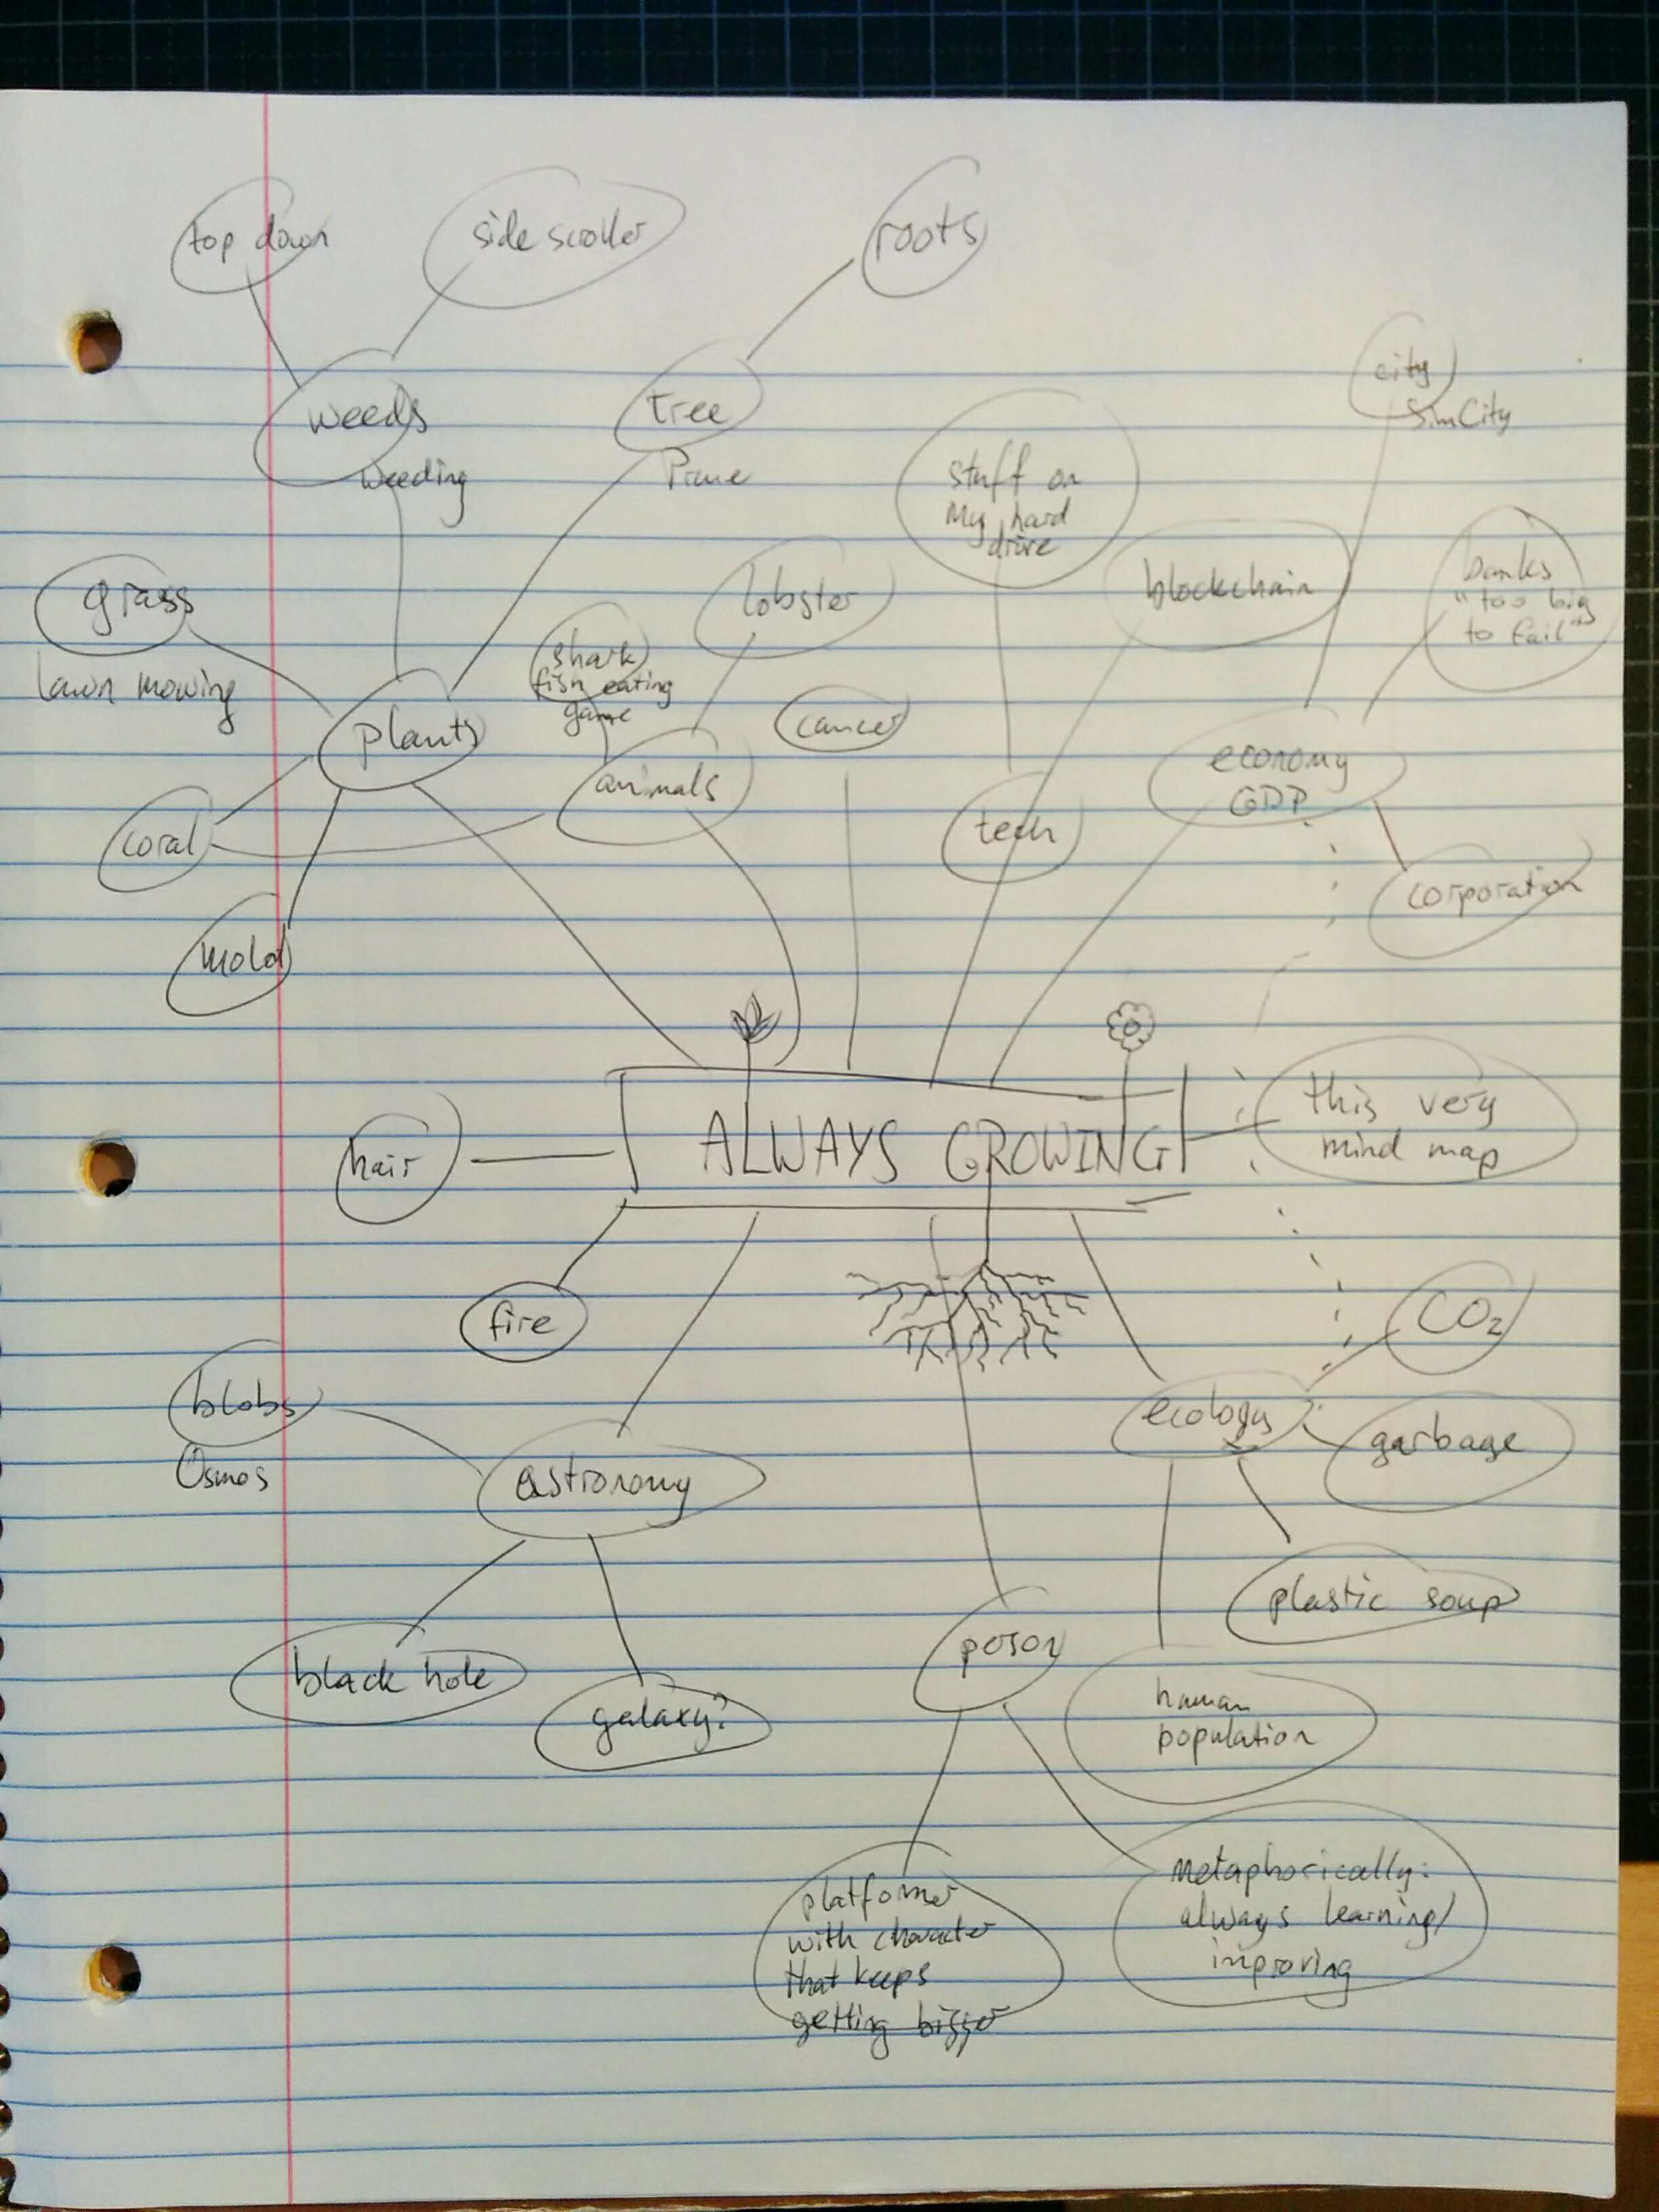
As you can probably tell, I was still leaning towards a plant-based theme at that point. This all changed while I was mulling things over in bed, and I went to sleep with a fairly well defined picture in my head of how I wanted the game to be.
I'm definitely a "planner" in this respect. I may not write up my plans in great detail, but I need to have a clear objective in mind and a reasonably clear path of how to get there. And the great thing about working solo is that I don't have to waste time communicating this vision with anyone else, or – eek – reaching some kind of agreement about what we're going to do.
So in this case, the control scheme (drag to create and change a route), graphics style (pixel art), AI (peep behaviour) was all thought out in advance. Even the resolution was decided on: 480×270 (a 16:9 ratio, useful for a possible mobile port later) with 16×16 pixel tiles, for a grid of 30×15 tiles plus a 30-pixel top bar. That would give me enough room for sufficiently large cities, without having to build controls for scrolling the map.
Having outlined the plan in my mind, I kicked off Saturday morning by writing down a to-do list. Very little was added to that list during the jam, and all must-have items were crossed off, which shows that I got the planning part very much right this time!
Saturday morning: artwork
I had already decided to use the Godot engine again, so I set up an empty project and created a Git repository for it. Always use version control, folks!
You're going to need final graphics at some point during the weekend, so there's no point wasting time on creating placeholder art. Just create stuff that's good enough to be final, and if you have time left over (* sarcastic laugh *) you can always polish it more. The to-do list already contained a list of sprites I was going to need, so I could just sit down with Gimp and draw them:
![]()
A few things of note:
- The transparent blue arrow evolved into the smaller, visually less cluttered chevrons that you see in the final game.
- The fire sprites have 5 stages, each consisting of two animation frames. These frames are just mirror images of each other. I could have mirrored them in-engine, but by doing it in Gimp, the path to a fancier animation remained simple.
- The brown arrow was meant to indicate a wind direction. I failed to write "wind" on the to-do list though, and almost forgot about it altogether, so this remained unimplemented.
I had some more ideas on the "nice to have" list that might require additional sprites, but this set was enough to get me started with coding.
Saturday afternoon: base code and AI
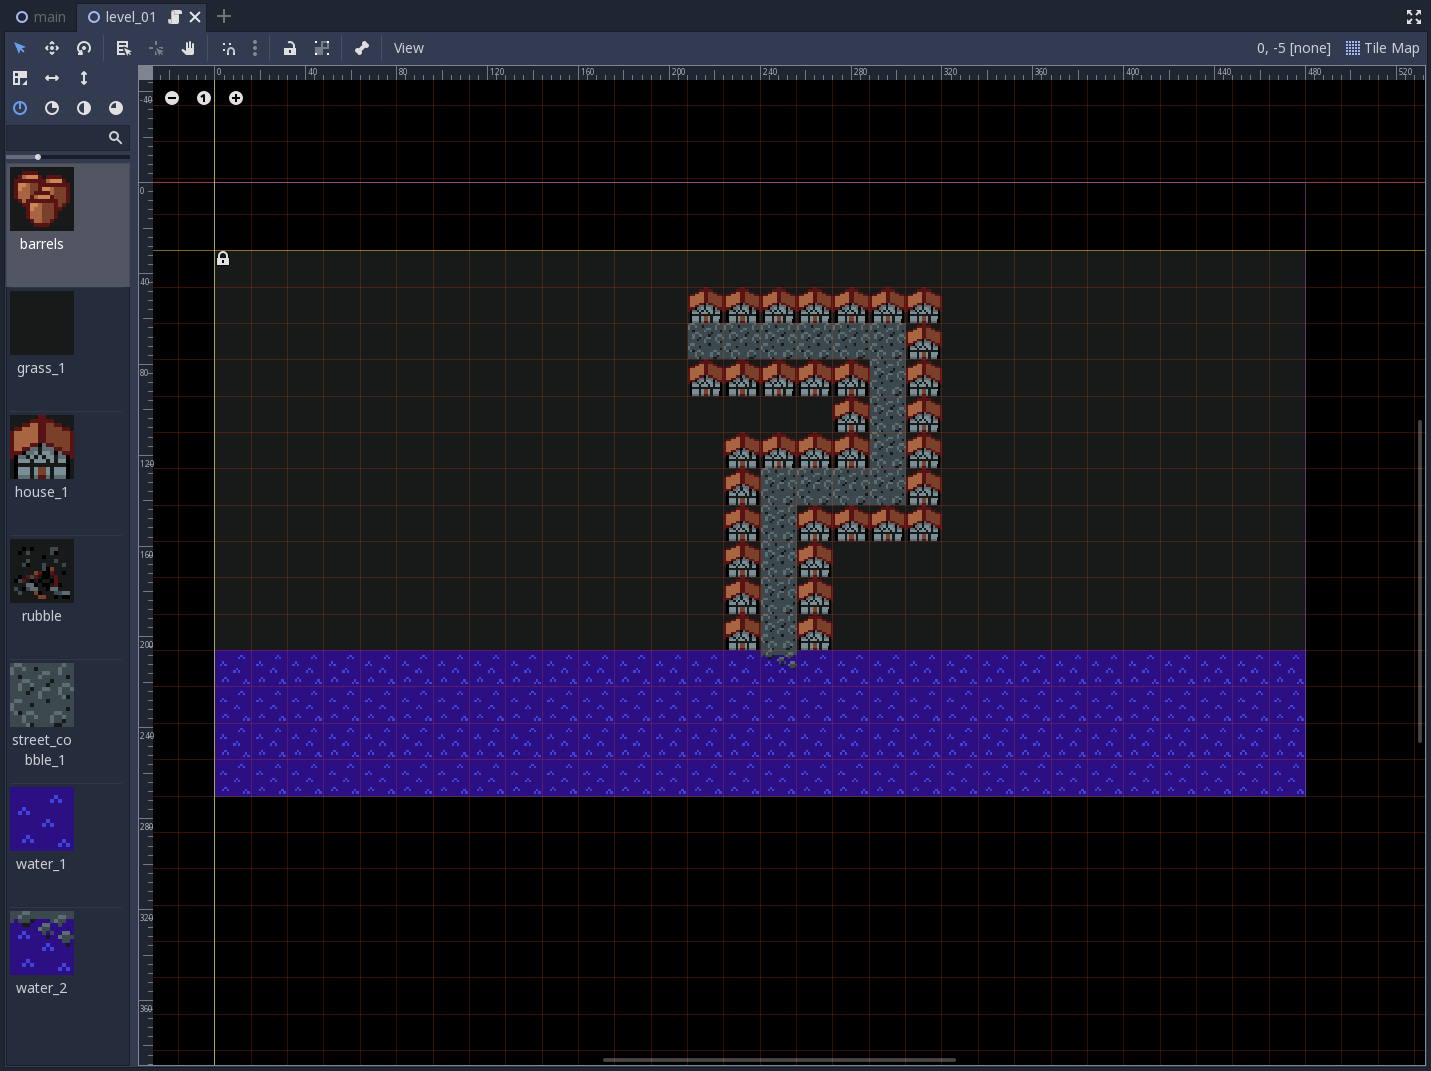
Godot lets you create tile maps, although the process is rather clunky and limited compared to using an external editor like Tiled. But doing it in Godot allows for quicker iteration and saves you the trouble of writing an importer, so in a game jam it's a no-brainer. So I quickly whipped up a small testing level, which later evolved into Level 1:
This level_01.tscn scene inherits from a level_base.tscn scene, where I'll add all the scripting. Basically the only thing that changes from level to level is the tile map. The base scene is still really simple at this point:
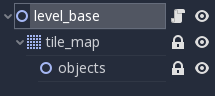
(Note that the objects node is still a plain Node2D at this point. I later changed it to a YSort node to make peeps and other objects get rendered in the correct order. It's a nice feature to have built in, although a bit limiting in that you can't configure the sorting.)
The base scene has an exported property that lets me configure the number of peeps you start with from within the editor:
export (int) var initial_peeps = 0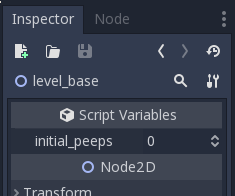
I later replaced this feature by a second tile map, named init, where I could place peeps and fire manually. This map is be processed into actual nodes at startup, and then disposed of.
Data structures
As to data structures, I copied and adapted grid.gd from a previous project. This is just a 2D array, with some additional goodies, like:
get(coord)returns some predefined default value if the coordinates are out of bounds. Saves a lot of bounds checking code everywhere.neighbors(coord)(I use American spelling in code, sue me) returns an array of neighbouring coordinates to the left, right, top and bottom of the given coordinate pair. Very useful for many things, including pathfinding and fire spreading.get_cell_center(coord)to convert from grid cell coordinates to pixel locations. It's not very clean to put this here, but it is very convenient, because the grid gets passed around to many places where this information is needed.
In this case, the grid was a grid of cells, of the class cell.gd (in GDScript, a file is implicitly a class). The cell contains a lot of useful data, like:
is_walkable: a flag for the pathfinding algorithm.is_water: whether we can draw buckets of water from this tile.peeps: an array of peeps that are currently in this tile.destination: coordinates of a neighbouring cell that buckets should be passed or thrown towards.
Having separate boolean flags like is_walkable and is_water is more flexible than having a single enum like tile_type. Now I can have water sources that peeps can walk on, if I wanted to. (A fire hydrant, for example.)
At the start of each level, the tile map is parsed, and these cells are created based on the names of the tiles. (Consistent naming for your tile sprites helps here.) At this point we create some peeps and add them to the objects node. Each peep is a scene, aptly named peep.tscn, with a script peep.gd attached to its root node. Inside that script is where the magic happens.
Peep AI
The AI is controlled by a sort of state machine. It starts out in the PANIC state:
enum State { PANIC, MANNING, PASSING, CHEERING }
var state = PANIC setget set_state
A panicking peep will run around in the streets randomly. But I didn't want a "pure" random walk, because it leads to a lot of back-and-forth movement. Instead, I implemented a kind of randomized pathfinding. We generate a route of 4 to 8 tiles long, from the current location, taking care not to visit any previous node on that route. This route is stored as a queue of tile coordinates (Vector2 type). The _physics_process function simply moves the peep towards the next point in the route, and pops the point off the queue once it's reached. This sort of algorithm sounds complex, but I've done such things so many times that I can often write them correctly with my eyes closed.
With panicking peeps running around in the streets, it was time to give them something useful to do. This required me to implement the _input function in the level_base.gd script. It converts mouse coordinates to tile coordinates, and toggles the manning property of the dragged tiles accordingly. (I apologise for the mild sexism in this variable name. I couldn't think of a more appropriate word.) If a tile switches from being unmanned to being manned, we run a flood-fill (breadth first search) algorithm from that tile, to find the nearest idle (panicking) peep and call its man_cell function. The peep then switches state to MANNING and executes its own pathfinding algorithm (again a BFS) to plot its course. (I could have changed the algorithm that finds the nearest peep to also calculate the peep's route, but having a separate pathfinding function seemed useful. I didn't end up using it elsewhere though.)
Next up: passing buckets of water around. Once a peep reaches its designated cell, it switches to the PASSING state. While in the PASSING state, it passes any bucket it holds on in the direction that its cell's destination indicates. If it holds no bucket, it looks for a neighbouring water tile and creates a new bucket from it. The buckets are actually child nodes of the peeps themselves, so they are being reparented each time they change hands. I suspect it might have been slightly easier to make them sibling nodes of the peeps instead.
Saturday evening: fire!
As the final thing on Saturday evening, I implemented fire. Fire nodes are also added to the objects node in the level, and a reference to the fire node is also stored in the cell for quick lookup.
Spreading of fire works as follows. Each fire has a size of 1 through 5, corresponding to the sprites you saw earlier. Every 3 seconds (plus or minus 30% randomly), the fire "grows". This doesn't mean that its size increases by 1, though. Instead, for each size, we have a predefined "growth radius". A random tile is selected within that radius, and if that tile is flammable, the fire on that tile is started or embiggened.
- At sizes 1 and 2, this radius is 0, so the only candidate tile inside the radius is the fire itself. So up to size 3, a fire cannot spread, only grow locally.
- At sizes 3 and 4, the radius is 1, so the fire has a 20% chance of spreading to each of four neighbouring tiles and a 20% chance of growing itself.
- And at size 5, the radius is 2 and the fire can jump across the street — as a player, these are the fires you really want to watch out for!
Also at size 5, the fire has a 50% chance of causing collapse of its building (and itself). This prevents fires from spreading too rapidly. Allowing such collapses to happen also gives the player a dangerous, but effective way of creating fire breaks.
That's how far I got on Saturday, with still lots of work ahead of me on Sunday. But this is turning into a pretty long article, so I'm going to break it up into two halves. The second half is going live here on Wednesday. Stay tuned!
This article was cross-posted from my blog.
Comments (5)

@hyperlinkyourheart @dollarone Part 2 should be coming online Real Soon Now™: https://alakajam.com/post/682/the-great-fire-postmortem-part-22

I didn't realise you made this in Godot, that's awesome! That's my engine of choice these days as well. Interesting to see you process, thanks for sharing!